What Is a Sump Pump?
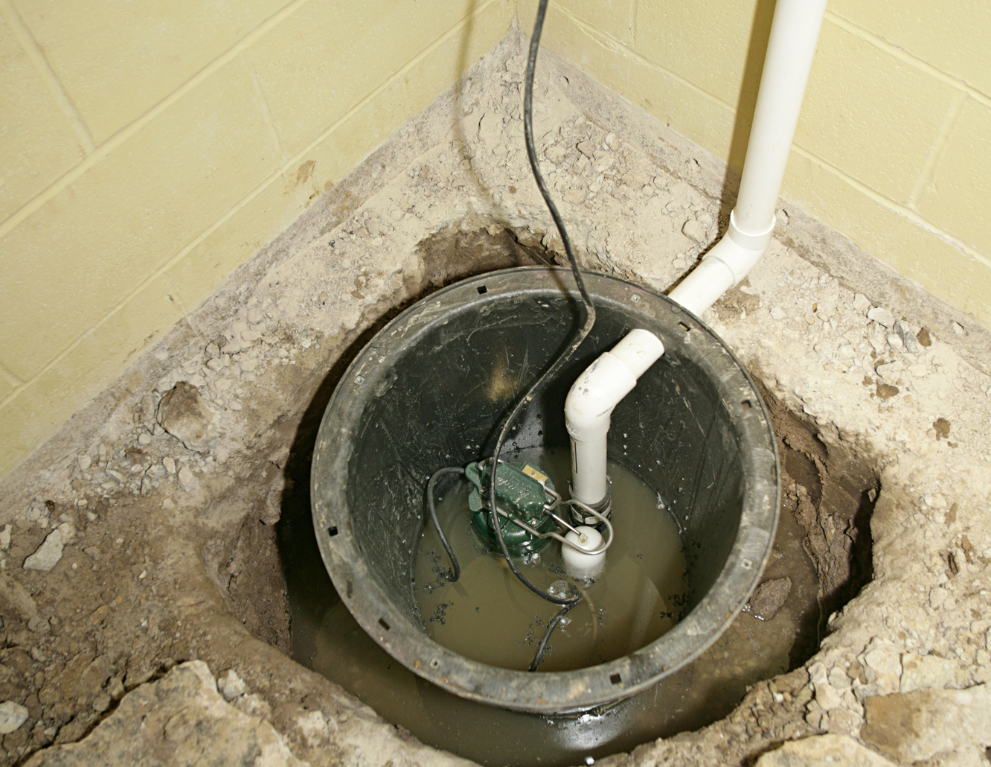
If you’ve ever asked yourself what a sump is and how to install sump pumps, don’t worry, we’ve got you covered. So a sump pump is nothing more than a device that you install at the lowest part of your basement and use it to remove accumulated water and prevent your house from flooding and water damages. When water reaches a certain level, it automatically activates the discharged pipe, which moves the water away from your house and prevents basement floods.
Why Do You Need a Sump Pump?
If you live in a flood prone area or in a region with high water tables or maybe your house just has poor drainage, a sump pump installation is need for you. They prevent basement floods and protect it from possible mold growth and structural issues. There are two types of sump pumps that you can choose:
- Submersible pumps, which sit inside the pit and run quietly. This one is suggested in cases when your house is located in an area that has big floods and the water problem is a big deal for you, as it accumulates a big amount of water.
- Pedestal pumps, which are easier to maintain similar to water drainage pumps, in terms of maintenance, but are noisier and is suggested when you don’t deal with big amount of water.
How to Install a Sump Pump
And now we are going to go through all the steps needed to make a proper sump pump installation. Here are all the tools and steps to guide you how to setup a sump pump.
Tools You'll Need
- A sump pump kit
- Hammer drill with concrete bit
- Shovel or jackhammer
- PVC pipe and fittings
- Pipe wrench
- PVC pipe and fittings
- Check valve
- Gravel
- Measuring tape
- A wet vacuum.
Sump Pump How to Install? (Step-by-step guide)
Step 1:
Find the sump pump placement.The lowest part of yout basement that water naturally flows, is going to be exactly the place you would like to put the sump pump installation.
Step 2:
Start to dig the sump pump placement using a shovel or a jackhammer. The size of the space you are going to dig depends on the type of the sump pump you are going to use but keep in mind to dig enough to put the sump basin correctly.
Step 3:
You should add some gravel at the bottom of the dig and then insert the basel pour for water grainage and stability, and then place the sump busin inside, but be sure it’s completely in it’s level.
Step 4:
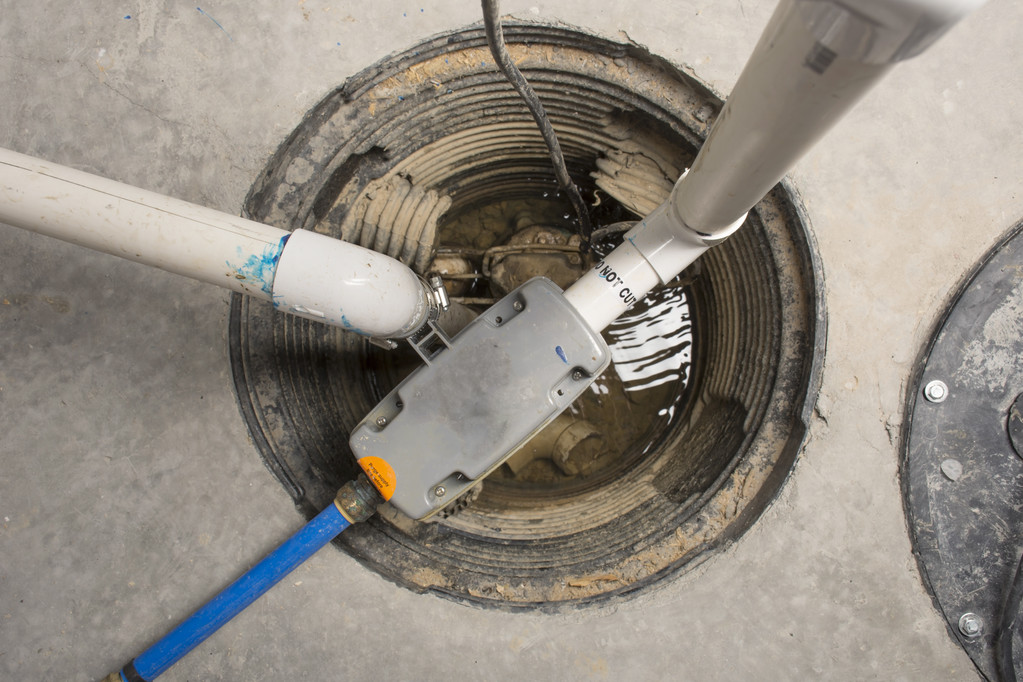
Then you should put the pump set inside the basin, and making sure the float switch has enough room to move freely. If you are using a submersible pump make sure to position it flat on the basin floor and for the pedestal pump be sure to place the motor above the basin.
Step 5:
Put in a Check Valve Fit onto the discharge pipe to stop water from flowing back and ensuring that it only flows into one direction, which is out of the pit.
Step 6:
Connect the Discharge Pipe and use PVC pipe and you can use silicon sealant to prevent leaks and making sure everything is secure.Make sure to direct it in a place far from house otherwise it will find the way back home.
Step 7:
Test the sump pump by using water to fill the basin and activate the float switch. In this way you can see how the pump removes the water and be sure everything works correctly and enure the electrical connections are safe too because this is a crucial step.
Step 8:
Pair your sump pump with a battery backup system so it continues working during power outages which often what happens in the heaviest storms.
DIY or Call a Professional?
When facing water damage problems and wanting to place a sump pump installation most people tend to think they can do it themselves to save some money.
But that money is going to cost you more long term.If we are talking about testing an existing pump or the maintenance of it, sometimes you can handle it. But doing the proper sump pump installation is way more than that.
Here are some of the most common mistakes people tend to do when attempting to do a sump pump installation by themselves:
1. Using household tools to dig the sump placement without doing the proper measurements or without having professional guidance.
2. Buying generic pump kits from hardware stores and following online tutorials without having the proper knowledge and the proper security steps
3. Connecting discharged pipes without proper fitting and without a check valve, assuming any usual pipe connection will do the job.
4.Trying to wire the pump by themselves without being advised by sump pump professionals about wet environments and local eletrical codes.
While these attempts may seem like a fast process or a good way to save some money result in a correctly functional sump pump installation. Incorrect wiring in particular is extremely dangerous sump pumps operate in damp, water-prone environments where faulty electrical connections can cause electric shock, short circuits, or fire. DIY installations also frequently miss critical components like battery backups and proper pit placement, leaving your home just as vulnerable to flooding as before sometimes more
Don’t Wait Until Your basement floods
Sump pump problems are easy to ignore, but acting like they aren’t there is going to lead to more problems and bigger headache in the near future.
Instead of trying to do it yourself, and temporary fixing it, contact a qualified plumber today to get a proper solution now, before it turns into a big water damage emergency.